So you’ve decided to have your rooms painted to liven up your home. The budget and schedule are planned, and you’ve hand-picked your favorite paint colors and bought some paint rollers and brushes. But before you jump in and start slapping paint on the walls of your home, spare some time to prepare your room. When it comes to interior painting, preparation is one of the most important steps that can make the difference between a well-polished, professional-looking wall or one that ends up blotchy, uneven, or even peeling.
Interior painting is no walk in the park, and preparing your room can be a time-consuming task. Yet it’s definitely worth the effort, because a painting job done right the first time saves costs in the long run, and you’ll have great-looking walls with an even coat that will last for years.
So let’s take a look at some of the things you’ll need to prepare your room for interior painting:
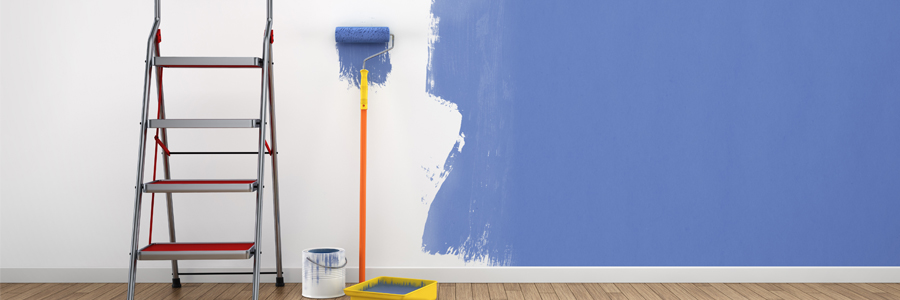
Equipment
- Drop cloths – a canvas used to protect the floor from paint
- Spackling paste – a putty used to fill holes and minor surface defects in walls
- Sandpaper – abrasive papers used to remove small amounts of material from surfaces in order to make them smoother
- Primer – a formulated coating to prepare a surface for painting. It also increases the top coat’s durability
- Painter’s tape – specially designed tape for paintwork, used to protect adjacent surfaces and light switches on the wall from paint splashes
Steps to prepare your room for interior painting
Remove furniture from room – The more furniture you can move out of the room, the better. Pushing everything to the middle of the room and covering them with cloth is simply not good enough. You’ll need all the space you can get while painting, and emptying the room allows you to move around more freely. And since you’re painting the walls, don’t forget to take off wall hangings as well.
- Cover floors – Painting jobs can be messy, so you need to protect the floor from paint splatters. Covering the floors with newspapers or plastic sheets won’t do the trick: they’re easily punctured and can shift while you work. Instead, invest in hard canvas drop cloths to protect against paint spills. With thick drop cloths in place, you can rest assured that your floors will remain spotless after you’re done with the paintwork.
- Fill in holes and dents – The next step is to inspect the walls for cracks and holes. If you need to remove wall hangings, chances are there will be nail holes. Fill them with a small amount of spackling compound, and wait for it to dry. You can make the spackled areas smooth by rubbing them down with sandpaper. Run your hand over each area to check that it’s even and flush with the rest of the wall.
- Clean the walls – It’s important to clean the walls that are to be painted. Dust, dirt, cobwebs, or any other residue can compromise the life of your paint, and therefore must be washed away for perfect results. Simply mix a mild detergent with water, and use a sponge to scrub the entire wall. Make sure the walls are dry before you proceed. If you’re in a rush, using a fan to speed the drying process is a good idea.
- Taping – This is one of the most time-consuming processes, but it will ensure a professional finish to your interior painting. When the walls are completely dry, use painter’s tape to cover areas such as windowsills, light switches, and cabinets. But make sure that none of your tape is on the wall to be painted, or else your old wall color will appear in the new room when the tape is lifted.
- Priming – Now it’s time to use a primer to coat the walls. Primers provide a layer that paint can stick to, and can increase the adhesion of your paint to the wall. Consider priming over the whole wall to ensure proper consistency, especially at the spackled areas.
Removing furniture and protecting surfaces will spare you the trouble of cleaning up afterwards. Washing and priming the walls will ensure your paint’s durability for many years to come. Once the preparation is done, you’re all set to open the paint tins!
However, the prospect of preparing for interior painting can be overwhelming for first-timers. If that’s the case, get in touch with our professional team at Sharper Impressions Painting, and we’ll bring new life to your walls.