The Complete Exterior Painting Checklist: Don’t Miss a Step
25% off all Labor & Materials*
*Offer Expires 2 weeks after written painting quote is delivered
By submitting this form, you consent to receive SMS messages and/or emails from our company. To unsubscribe, follow the instructions provided in our communications. Msg & data rates may apply for SMS. Your information is secure and will not be sold to third parties.
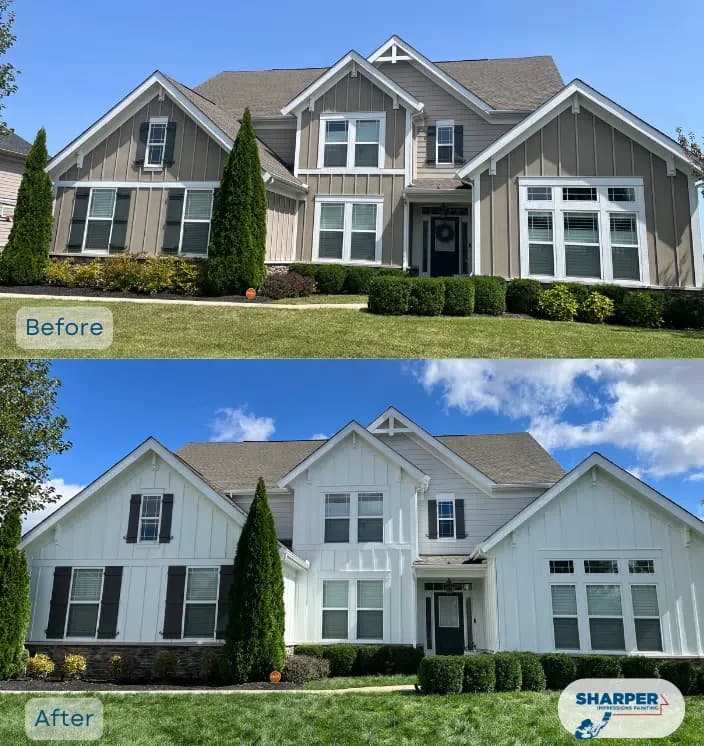
Repainting your home’s exterior can breathe new life into the property. But it’s more than just curb appeal—it’s about protection. A good paint job defends against sunlight, wind, rain, snow, and general wear.
But here’s the catch: many homeowners rush into it. They pick a color, buy some paint, and start brushing—without preparing the surface, checking for damage, or knowing what’s really needed for long-lasting results. That’s when problems show up. Peeling. Mold. Bubbling. Flaking old paint that was never properly removed.
This comprehensive exterior painting checklist walks you through everything—whether you’re tackling it yourself or hiring pros. Every step matters.
Why a Painting Checklist Matters Before You Paint
Think of exterior painting like a surgery. You wouldn’t skip pre-op, right? A painting checklist brings structure, reduces errors, and ensures long-term results.
The most common painting failures we see—early peeling, mold bleeding through, paint flaking within two years—stem from skipped prep. Painting over old paint without scraping. Ignoring moisture issues. Forgetting to caulk. It all adds up.
A good exterior painting checklist helps you:
Plan timelines and avoid weather mishaps
Uncover and fix hidden damage before it’s too late
Vet contractors to ensure thorough prep and quality
Exterior Painting Checklist: Step-by-Step Guide
Below is your full step-by-step checklist. Whether you’re brushing on paint or overseeing a crew, these steps are your roadmap.
Inspection and Evaluation
Before opening a single can, assess the condition of the surfaces.
Look for:
Issue | What It Means | Action Needed |
Peeling or flaking paint | Failing bond from old paint | Scrape and sand before repainting |
Rotting or soft wood | Moisture damage, especially on trim | Replace before painting |
Mold or mildew | High humidity or poor drainage | Kill spores before painting |
Mold or mildew | High humidity or poor drainage | Kill spores before painting |
Hairline stucco cracks | Foundation shifting or thermal expansion | Fill with elastomeric patch |
Chalky residue | Paint degradation (often on old paint) | Wash and test for adhesion |
Rust spots | Metal exposure to water | Treat and prime with metal primer |
Tip: If your home was built before 1978, test for lead paint. Scraping old paint that contains lead requires EPA-certified safety procedures.
Surface Cleaning
Paint needs a clean surface to stick.
Power washing is usually best—but use caution on older or delicate materials. Never paint over mold or dirt.
Cleaning Guidelines by Material:
Surface Type | Cleaning Method | Drying Time |
Wood siding | Low-pressure wash + scrub | 24–48 hours |
Vinyl | Medium pressure wash | 24 hours |
Stucco | Gentle rinse + mold solution | 48 hours |
Brick | Soft wash + detergent | 24–48 hours |
Don’t just bleach mold—that only removes surface stains. Use a mold-specific cleaner that kills spores and prevents regrowth under the paint.
Repairs and Caulking
Paint hides nothing. Cracks, rot, and gaps will still be there after painting—and worse over time if not addressed.
Common Fixes:
Patch cracks in stucco or brick with flexible fillers
Replace rotting trim, fascia, or wood siding
Tighten loose fasteners
Re-caulk seams around windows, doors, and eaves
Choose paintable exterior caulk and allow it to cure fully before painting. This is critical for long-term adhesion.
Scraping and Sanding Old Paint
This is where many jobs fall apart. Painting over old paint that’s flaking or loose guarantees early failure.
Use paint scrapers and wire brushes to remove:
All peeling and bubbling sections
Loose edges from previously painted layers
Rusted or cracked paint over metal components
Feather-sanding is crucial—smooth transitions between scraped and intact areas make your finish seamless.
Lead Paint Warning:
Homes with old lead paint must be handled with care. Never dry-sand lead-based coatings. Use EPA-approved safety practices or hire certified pros.
Priming
Don’t skip the primer—it’s not just for repairs. Primer:
Seals porous repairs and raw wood
Evens out old and new surfaces
Improves topcoat adhesion
Prevents stains from bleeding through
When You Need Primer:
Surface Condition | Primer Required? | Reason |
Bare wood | ✅ Yes | Paint will soak in and dry unevenly |
Repaired areas | ✅ Yes | Ensures uniform finish |
Transitioning colors | ✅ Yes | Helps cover darker shades |
Chalky or porous surface | ✅ Yes | Creates bondable base for topcoat |
Choosing the Right Paint and Finish
Not all paints are equal. For exteriors, quality matters more than ever—especially in regions like New Jersey where weather varies drastically.
Match Paint to Surface:
Surface Type | Recommended Paint Type | Notes |
Wood | 100% Acrylic Latex | Flexible and breathable |
Stucco | Elastomeric or Masonry Paint | Fills hairline cracks, moisture-resistant |
Brick | Breathable Masonry Paint | Allows water vapor to escape |
Vinyl | Acrylic (vinyl-safe) | Use light colors to prevent warping |
Metal | DTM or Acrylic + Metal Primer | Resists rust and oxidation |
Select the Right Sheen:
Sheen | Use Case | Benefits |
Flat/Matte | Older homes, rough surfaces | Hides imperfections, non-reflective |
Satin | Most siding | Balanced durability and appearance |
Semi-gloss | Doors, trim, shutters | Easy to clean, highlights architecture |
Protect Landscaping and Fixtures
Before you open the first can of paint, shield everything you don’t want covered in overspray.
Cover with:
Drop cloths (canvas preferred over plastic)
Painter’s tape for tight edges
Plastic sheeting over shrubs or furniture
Tip: Remove exterior hardware like light fixtures or house numbers before painting. It results in a cleaner finish and less masking work.
Painting: Tools and Conditions
Choose the right tools for your home’s material:
Brushes: for trim, corners, and detail work
Rollers: for wide, flat surfaces like wood siding
Sprayers: best for stucco, brick, or textured walls
Application Tips:
Use two full coats for durability
Work from top down, in the shade when possible
Avoid painting in extreme weather or direct sun
Follow manufacturer’s drying times between coats
Final Cleanup and Inspection

You’re almost done—but don’t rush this step.
Your Final Painting Checklist:
Remove all painter’s tape, drop cloths, and plastic
Store leftover paint in labeled containers
Dispose of rags and materials safely
Conduct a full visual walkthrough
Make a punch list of any missed spots, uneven areas, or drips. If you hired pros, this should be a collaborative walk-through.
Maintenance Tips to Maximize Paint Longevity
Even a perfect job needs upkeep. To extend the life of your exterior paint:
Wash siding once a year with gentle soap
Re-caulk joints and windows every 2–3 years
Address chips or cracks as soon as they appear
Keep gutters clear to reduce moisture exposure
Pro tip: Keep leftover labeled paint for future touch-ups. Make note of the exact brand, color code, and sheen.
Final Thoughts
Repainting your exterior isn’t just a facelift—it’s protection, durability, and value. Whether you’re updating color or dealing with old paint issues, a detailed exterior painting checklist is essential.
Take the time to do it right. Or call someone who will.
We specialize in high-end exterior painting projects—handling everything from scraping old paint to applying the final coat with precision.
Request your free estimate today. Let’s protect and refresh your home—one painting checklist item at a time.
May 17, 2025
About the Author: Joseph Steele
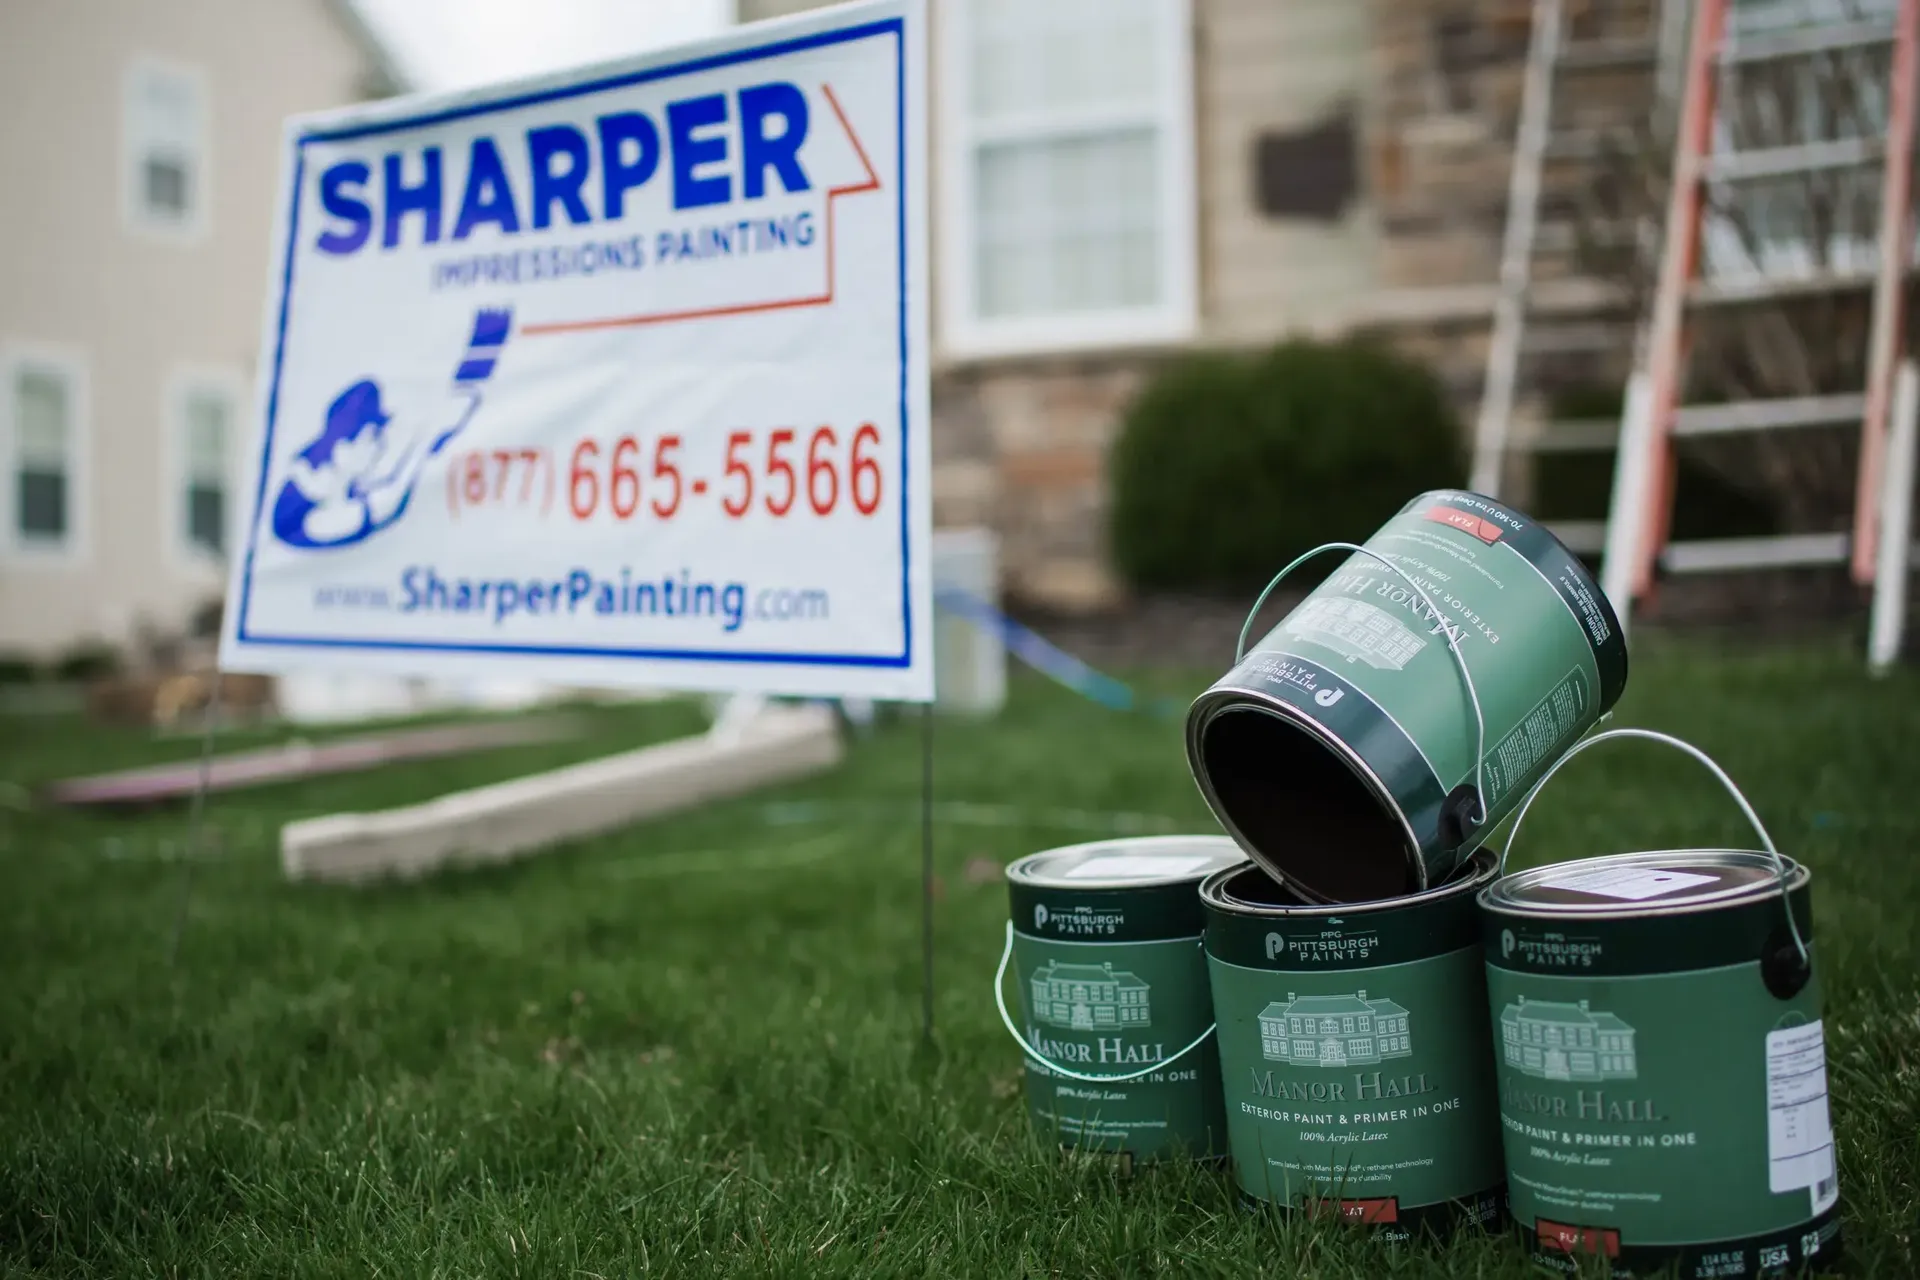
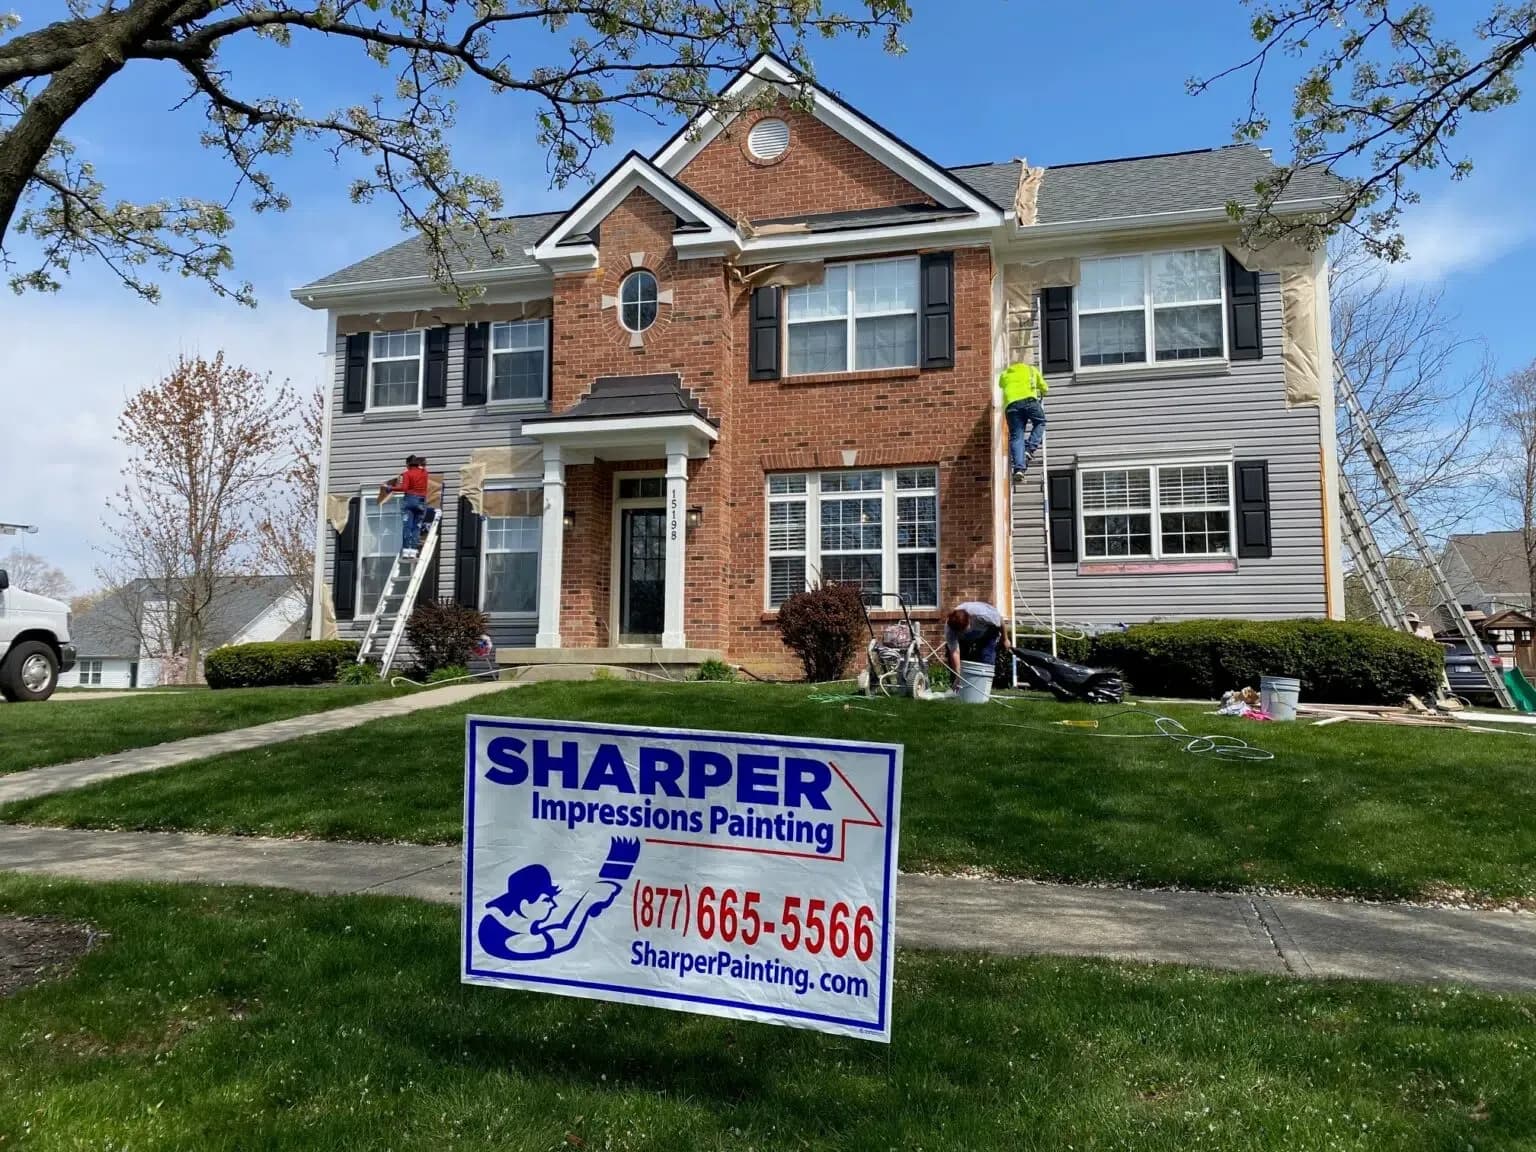
Hi, I’m Joseph Steele, with Sharper Impressions Painting. We proudly offer high-quality interior and exterior painting services for homes and businesses in Atlanta, Columbus, Orlando, Indianapolis, Kansas City, and Nashville. From cabinet painting to deck and fence staining, we’re here to enhance your space. Learn more about us here.
See what others have to say
Above All, Our Customers Come First…
Sharper Impressions Painting is a painting contractor with over 32 years of residential painting experience along with an impressive reference list from satisfied customers. Your home is your most valuable asset and our respectful painting team will make it look great and keep it protected for a long time.
Our Locations