When it was first introduced in the 1940s, it didn’t take long for aluminum to replace wood as the go-to siding material of choice for builders and homeowners across the United States. While traditionalists may have turned their noses up, aluminum had several benefits that, at the time, made it an obvious choice for new home builds as well as for replacing old, tired wooden sidings.
First and foremost, aluminum is considerably lighter than wood, making the sidings easier to install. It is also lower maintenance due to the fact that, unlike painted wood, a coating of paint is baked on to aluminum, reducing the need for frequent cleaning and repainting – this of course also considerably lowers the cost of maintenance.
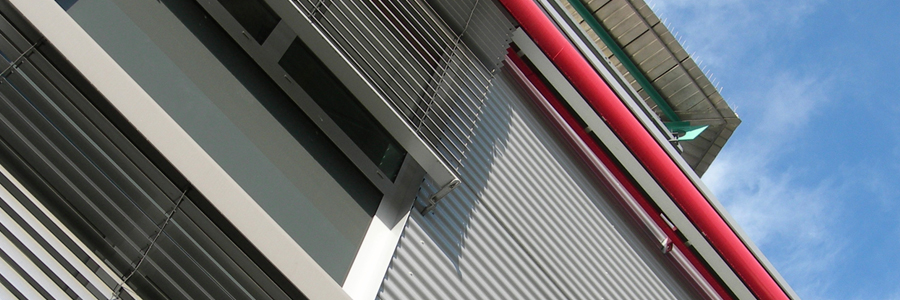
However, aluminum’s reign over the world of sidings was to be relatively short lived when approximately thirty years later it was usurped by vinyl – an even cheaper and lower maintenance option. But that means anyone who owns a home that was built at some point during the aluminum siding’s heyday may have ample reason to ponder the conundrum: should I paint or replace my aluminum siding?
The problem with aluminum siding
Full disclosure: we said aluminum was low maintenance; however, it does still require some maintenance. After all, there are precious few construction materials that allow you to simply forget about them while they continue to look as good as they did on the day they were manufactured.
The main issue with aluminum siding is that the paint becomes chalky and will fade – a lot. You’ve probably noticed this on your own home if you have aluminum sidings. But what should you do to restore your property to its former glory? Does this mean you are trapped into a Golden Gate Bridge-esque cycle of having to continually give your aluminum sidings a fresh lick of paint in order to maintain the appearance of your home – or should you just hire a contractor to rip them out and replace them with vinyl?
Replacing your sidings completely may seem a bit drastic – and it will certainly cost you a lot more, at least in the short term. For many homeowners, painting is a far more viable option, particularly if you don’t have the funds to completely replace your sidings. You might also be considering selling your home, in which case painting, not replacing, is clearly the smartest move. Finally, many people want to stay true to the heritage of their home and, whether your property was built in 1940 or 1975, isn’t it nicer to retain and maintain the existing design and construction?
Painting your aluminum siding
It may have a tendency to chalk and fade, but the good news is that, provided you prepare your siding properly, paint adheres to it very nicely. However, there is a little more to embarking on your paint job than simply donning your overalls and cracking open a can of paint so, if you are going to attempt the project yourself, read on and we’ll give you the lowdown.
Prepping and cleaning
Before you even touch a paint brush you need to prep your siding to ensure a smooth coverage of paint, and that means getting rid of any chalking. How do you know if you have chalking? Once you’re up the ladder and up close to the siding you’ll probably be able to tell on sight, but to make sure, swipe your hand across it. Left with a chalky residue on the palm of your hand? Sorry, but you need to remove this before you start painting.
Removing chalking
Your local home improvement store should sell a product made specifically for the purpose of cleaning aluminum siding. Grab this along with a scrubbing brush or abrasive sponge, follow the instructions on the packaging and get scrubbing! In the event that you can’t find specialist cleaner, you can use a trisodium phosphate (TSP) and water solution which works equally well, and is often easier to get hold of.
After you’ve removed the chalking
Once you’ve cleaned the entire siding area and are confident you have gotten rid of all that nasty chalking, it is important that you rinse with plain water to remove any traces of the chemicals in the cleaning agent. Now you need to wait until your siding is completely dry. Again, you can conduct the quick palm test by wiping your hand over the siding. If there’s the slightest trace of moisture, you need to wait a while longer. Your palm should also be free of chalk.
Removing paint
If you’re lucky and you still have the original baked-on coating you probably won’t have to concern yourself with flaking paint, but should it have been painted over you’ll need to eliminate any peeling patches. Once done, lightly run a piece of fine grit sandpaper around the edges of the peeling, rinse off the dust, and then leave to dry.
Paint your siding
If you’re using a decent brand of paint – and the right type of paint for the job – you probably won’t have to use a primer. However, make sure you read the manufacturer’s instructions first and if they do recommend using one, make sure you comply – even if it means going back to the store! (Better still, check the can before you buy it…) You should also follow their guidelines as to how many coats to apply, although two is normally best.
If all of the above sounds a little too much like hard work, then why not talk to the experts at Sharper Impressions Painting? We have experience in painting aluminum sidings and will be more than happy to provide a quote for your project.